

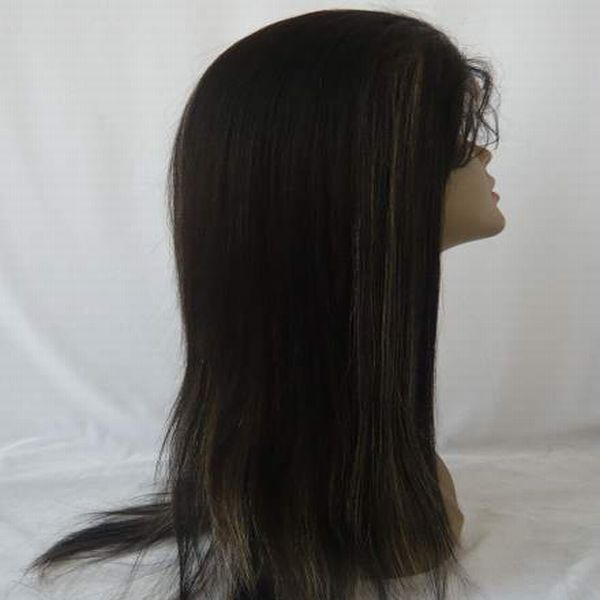

Artificial hair or wigs can help in changing your appearance completely. It makes you look different than any other normal day. By using a wig you can go for a complete new hairdo for an evening date or for a family function. It is very easy to fix a wig to the head but it is a little tricky to position it properly. If you do not want to take the help of an expert in order to fix a wig you can easily do it yourself. Just keep in mind certain tips and you will never have to rush to the salon for a quick wig fix. Read on to learn how you can do the task easily.
Complexity Level
Moderately Easy
Time Required
10 minutes
Resources Required
- Adhesive
- Comb
- Wig
- Hair pins
- Hair gel
- Hair bands
- Hair brush
Instructions
1. Create a flat surface
To start with, you will have to first make surface for the wig to sit on i.e. you will have to create a flat surface for the wig. In order to flatten the hair, you can either braid the hair, mold them or make use of wig liner or simply a stocking cap. There is a general rule followed by people who use wigs very often; for curly hair, wig braiding is done and as far as a straight wig unit is concerned hairs are generally molded or wrapped. However, the decision is totally your call depending on the kind of hair you have and your comfort level.
2. Cleanse the forehead
The next step is to simply use alcohol to clean the forehead perimeter. This is primarily done in order to make the skin oil-free which will make it easier for the adhesive to stick. If you skip this step and your skin tends to be oily and troublesome the wig might just not stay adhered to the skin.
3. Pin the wig hair
It is strongly recommended that you must always pin the hair of the wig prior to placing it on the head. This will help you to ensure that the hair does not fall or stick to the glue that you have applied to stick the wig, while you are placing the wig to your head. You will have to pay extra attention to the small hair of the front as they are a little difficult to manage.
4. Trim the excess lace
In order to create hairline, you will have to simply start trimming the excess lace in the front. Make sure you cut small pieces of hair at one point of time, you can use a stork scissors for this purpose. Do this with extreme precision and stay as far as possible with jagged cuts. You can decide where you want the hairline to be by checking in the mirror after placing the wig on the head. Make sure the hairline looks natural otherwise you will look plastic.
5. Mark where you want to place the wig
Make light outlines in order to mark where you wish to place the wig. Carefully apply adhesive within these marks so that there is no trouble later on. Keep a gap of four fingers between your eyebrows and your hairline for a natural look. It is very important to place the wig at a proper place for looking good.
6. Apply adhesive
Once you are done with creation of the hairline, you will have to finally apply some adhesive to it. This adhesive will allow the wig to stay on head. Allow the adhesive to semi dry and then you can place the wig to your head. Use a comb to press down the wig so that it gets properly stuck to the adhesive.
7. Finish it up
You will have to apply a last layer of adhesive or glue on the excess spots that you might have missed. Do not press it down till the adhesive is semi dry. The lace should simply lay on the hairline on the forehead. Ensure that it has no ripples.
Frequently Asked Questions
How can I get a natural look with a wig?
You can get a natural look easily and all you have to ensure is that you maintain a gap of four fingers between your eyebrows and hairline. A wrongly placed wig can ruin your entire effort by making you look horrific.
Quick Tips
1. Wipe off the excess glue with a wet tissue. It should not appear on your forehead.
2. Use a little hair spray to set your baby hair back.
Things To Watch Out For
1. Make sure that the baby hairs are pulled back properly.
2. Use comb to flatten hairs only when the adhesive is semi dry.