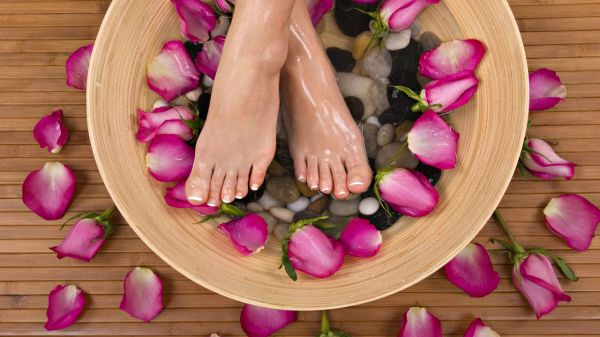
Foot spa is significant not just because it makes your foot presentable and fresh but for personal hygiene as well. It is advisable to take out 20 minutes in 2 weeks for a foot spa in between your hectic schedule. Home made spa for your foot gives best results and has no side effects as well. Here are certain instructions, which can be helpful in giving your foot a gentle and apt spa. Your foot feels smooth and relaxed after such a treatment.
Complexity level: Moderately Easy
Estimated time: 7 Minutes
Resources required
- Nail paint remover
- A nail filer
- Foot moisturizing cream
- Finger separators
- Instant dry nail polish
- Sugar or salt
- Oil
Instructions
1. Removing nail polish
Remove the old nail polish applied to your toenails. You should always use an acetone free remover to ensure the natural shine of your nails. Acetone is very hard and harmful as it dries your nail. You should select a nail remover, which contains vitamin E and essential oils for safety of your cuticles and nails.
2. Filing and clipping
If your nails are short and do not grow much, then clipping them is a better idea. If your nails are long, then you can file them to give a desired and trendy shape. While filing the nails be alert about the angles you are taking to shape them. Now pull out the dirt sticking to the edges of the nails quickly.
3. Foot scrub
Mix one part of sugar or salt in two parts of oil. Select the oil according to your taste. You can also add essential oils in case you want an aromatic spa. Rub the mixture in a circular motion scrubbing your foot. Rinse off the scrub after you are done.
4. Foot massage
You can select any foot moisturizer with vitamin E, alpha hydroxy acid and oil contents in it. Alpha hydroxy acid is necessary in a foot cream because it assists in fast and complete absorption of the moisturizers into your skin. It helps dry layer of your skin to peel off and hence opens the pores of your skin to intake the moisturizer and oil perfectly. Massage your foot with a continuous circular movement, which helps in maintaining the blood circulation. Special attention should be given to the heels because they need more relaxation after the hard work they do. Massage your tired toes by pressing them with your fingertips. While massaging your toes remember to pull them in the opposite direction of your body; this helps in unstraining them. Massage for about 10 minutes until the cream is absorbed in the skin properly.
4. Applying nail polish
The final step is to apply nail polish. Select a nail paint that dries up instantly and has large brush. A nail polish that dries up instantly is not much trouble if you are in a hurry. Long brush helps in applying the paint equally and without smudging. It also helps in quick application of the paint. Press the nail paint brush to the back end of the toenail and gently spread the color throughout the nail. You should apply two coats of the nail polish for better results. If you want to add extra shiny look to your nail polish, you can use a transparent paint as a final coat.
Frequently asked questions
Q1: What color should I choose when I do not have enough time to mix and match?
Ans: Red is a nail color that goes along with almost all the dresses and shoes. So if you cannot decide what color to put and you are in a hurry, go for red.
Q2: Can the salt and sugar scrub be stored?
Ans:The salt or sugar scrub is in a preserved form. The oil content of the scrub makes it easy to preserve. You can store the scrub in an air tight bottle. Keep the container in a cool dark place. You should not leave water content in the scrub if you are planning to store it or else it may get spoiled. Do not store for more than a week to receive best results.
Quick tips
- Place cotton in between the fingers while applying nail polish to avoid messing up with the color.
- Always go for a nail polish remover that contains vitamin E and essential oils.
Things to watch out for
If your skin tone is light, you can go for both light and dark shades but if your skin tone is dark, you should stick to light colors.


