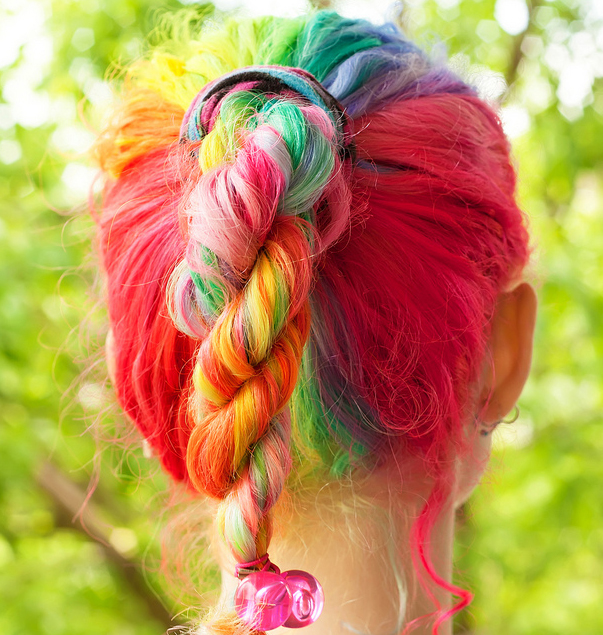
Braids lend a neat and well managed look. These braiding styles appear complicated and time consuming but in fact it is quite simple and easy. These styles are trendy and fashionable as well. It is easy to learn this hairstyle if you try it on some one else first. Here 5 braided hairstyles you can use to style your hair:
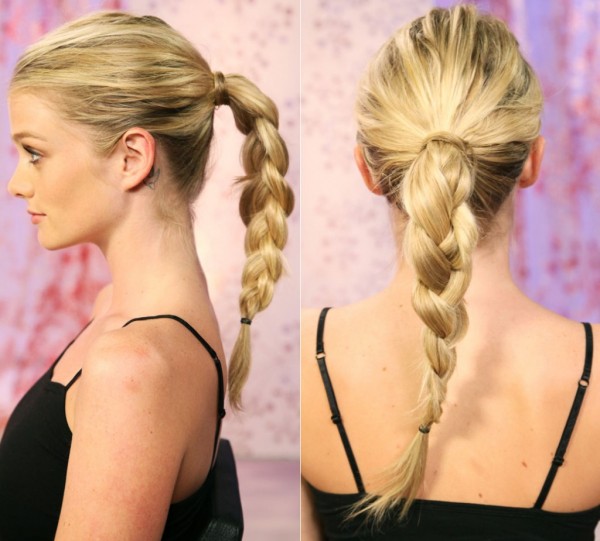
1. English Braid
The English braid is most common braiding style, easy and an all time favorite of women across the globe. Comb your hair from the natural margin formed by hair on the head toward the back side of the neck, gathering all your hair together. Then divide the hair into three equal parts, and use a simple left-over-middle and right-over-middle technique to make the braid. Tie an elastic band to the end of the braid to avoid it from coming out.
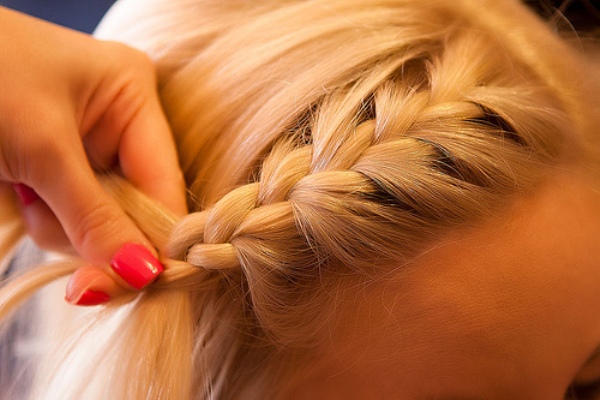
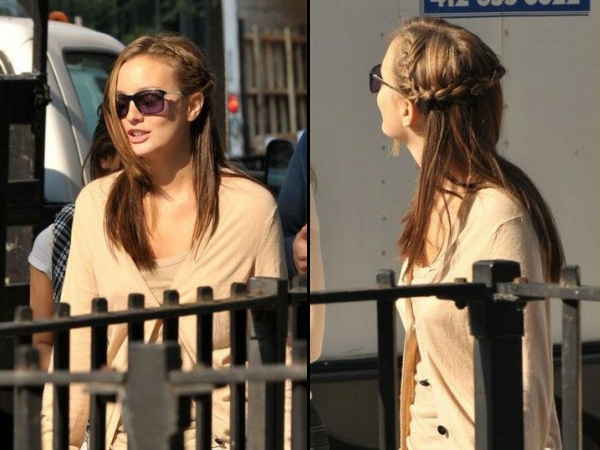
2. French braid
French braid is another very popular braiding style where the technique is to pick one section of hair from the hairline at the forehead, and one section from either side of your head. You will have to bring each side section over the middle section, add in a little more hair from that side of your head. Keep repeating the same till the end of your hair length and secure it with an elastic band. Remember not to pull your hair too tightly.
3. Dutch braid
A Dutch braid is exact opposite of the famous French braid. Here you have to go below the side strands under the middle strand instead of above it. In the Dutch braiding style the braided hair appears to be bulging above the rest of the hair.
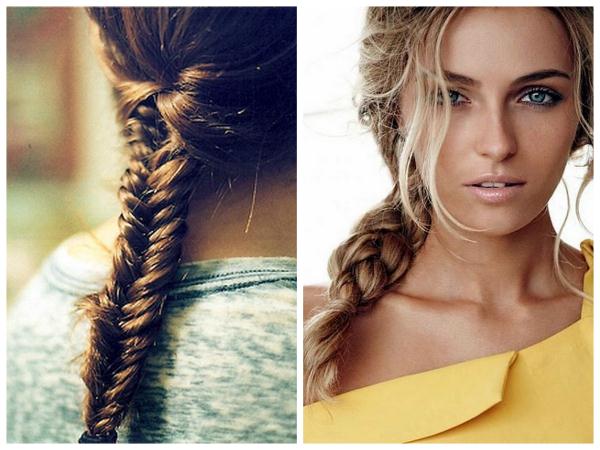
4. Fishtail braid (Herringbone or Fishbone)
Divide all your hair into two equal sections parting it from the middle. Unlike the classical braid where we divide the hair in three parts here we divide it in two. Hold the left section in your left hand and right section in the right hand. From the left divided section of the hair pick up a thin strand keeping the right section enclosed. Straighten the strand of hair you have pulled by pressing it in between your fore finger and middle finger. Now take that strand over the right side of the divided section of the hair.
Now, brush the right section of the hair including the strand that you have added to it with your fingers. Next, hold the left section of hair in your left hand firmly and pull out a strand of hair from the right side. Take this strand over to the left section of hair and mix it to the section by combing with your fingers. In the mean while hold the right section of hair securely in your right hand.
Repeat the process again and again till the hair length allows it. The braid should fall in the middle of your back. When the braiding is done you should tie it with and elastic band to hold it in place. You can keep it tight or loose according to your choice.
5. Rope Braid
This is a braiding style that can fool you about the ease with which it is made by its complicated looks. It is a simple hairdo formed by twisting the hair. It is good to make a rope braid with semi wet hair. Pull your entire hair into a ponytail and then divide it in two equal parts. Rotate each part of the hair clockwise. Finally, wrap the right section of hair anti-clockwise around the left section. Tie at end with a rubber band.
Quick tips for braided hairstyles:
1. For messy look, back comb the braid slightly or leave some flyaway here and there.
2. If you want to wear neat braids for formal looks do not back comb and do hair pressing before making braids.
3. Sparkle sprays are available in the market to add shine to the hair style. The shine looks great when going out to party.
4. Use an elastic matching to your hair color to give your hairstyle a natural look.
5. The braid can be decorated by the braid or bun pins with pearl end for a classy look. Other trendy clips can also be used to enhance the beauty of the braid. Ribbons can also be used to decorate the braid. Bead clips can be used to decorate the fishtail braid if your are making them for kids.
6. For the braid to stay for long spray some hair spray after it is done.
DIY waterfall braids – the five popular braided hairstyles
Waterfall braid has been an extremely popular choice for hair stylists and fashion addicts. Initially, the hairstyle may well look like a complicated cluttering of several ponies, but with repeated looks things can surely ease out. In fact, the unique hairstyle statement can arouse the eyebrows of many in the crowd. Those who have still failed to figure out the proper styling of this braid, they need not have to worry at all. This article focuses on five popular DIY waterfall braided hairstyles. It can be helpful for both the novice as well as advanced braiders. Cascade waterfall braided hairstyles has become the trend of season. It is a mixture of cool, elegant, and complex style statement. However, the style can be easier to get away with than anyone can think of.
Style 1
This style always works best on loose or straight waves. At first, brush out every single knot with wider tooth comb. Now, part the hair normally and start with the braid from right corner side. Get hold of the top section, grab it properly, and divide it into 3 strands. Then, braid the strands regularly three times. Once reached the left strand, try to add more hair to it like French braid and then fold that particular strand to center.
Style 2
Now it is the tricky part. After French braided the left strand, drop at the right strand. Allow it to fall down and then pick-up another of the small section of hair lying next to the original strand. This will be the new strand from right side.
Style 3
Continuing to style 3, the process needs to be repeated: French braiding the left hair strand and then dropping the right strand, picking up and adjusting a new piece. Finally, cascade this style and take it slowly towards middle of the head.
Style 4
Once reached a formidable point to stop the braid, secure it to the scalp with plastic bobby pins. Pinning the hair perfectly is not required. After all, covering up these bobby pins with hair accessory will be carried out at a later stage. The left portion of hair can be braided left from the cascade into fishtail braid. Now secure the newly formed braid with thin hair tie.
Style 5
If trying for a mermaid braid, then add one flower or bow for hiding the bobby pins. This will also help in providing some additional hair flair. Then, secure the barrette quite firmly to the scalp and braid properly for a firm hold. The extra portion of hair need to be moved to the opposite facial side and then place it back to the flower barrette. This will help in blending it into a cascade-shaped appearance. How about spritzing some light-hold hairspray? It will be ideal style for summer date session.
So, here are the five DIY waterfall braids that can be used interchangeably following one simple preliminary hair style. These braids can be ideal for party purpose, dating, or even while attending some marriage reception ceremony.


