
The benefit of gel liner is that it goes on smoothly giving you the control of a pencil with the density of a liquid liner. Additionally it lasts all day without being set with eye shadow. So let us learn how to do this magic.
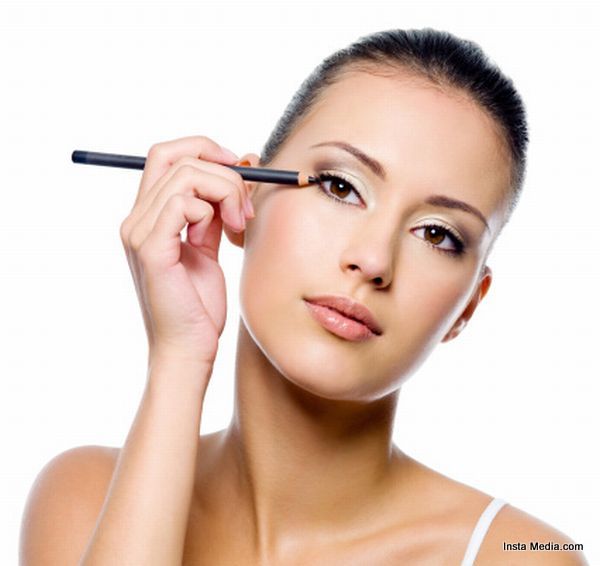
Learn How To Apply Gel Liner
First you need to dispense a little liner onto the back of your hand using it as a palette so that you can properly control how much you’re applying to the eye. If you are really unsure and new to working with gel liner you lightly add three small, easy to work over dots to the eye. These help you locate where you’ll start and finish your liner, and where you will anchor it in the middle. So place one in by the bridge of the nose, one on the ball of the eye and one at the outer corner. Keep them small as you can.
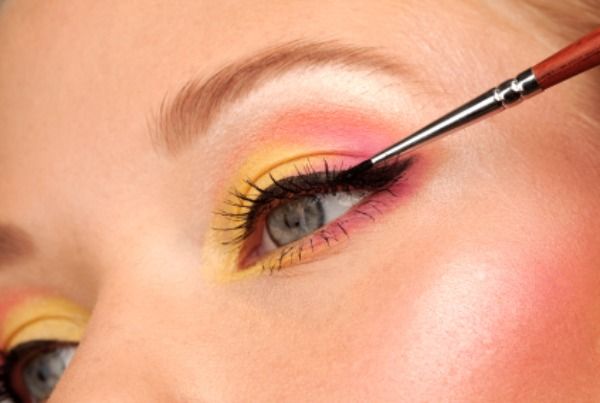
Now get your product onto the eye and work quite fast. The best way to line the eye is to try to get it on in one quick movement or swoop. But if that doesn’t work, then the trusty three dots method is fine. Get the line as straight as you possibly can. Keep going over until you’re satisfied. Once you’ve joined up your dots, working from the nose outwards, you should have a straight line, tight to the lash line, out to the end of the lashes.
If you want to leave your line as is, for work or a more subtle look, then do, but if you want a more exaggerated cat’s eye flick, then here’s how you add it. Identifying the point you want your flick to extend to first, and then drawing back down from there. That helps you control the shape and size better than drawing upwards from the side of the eye. So take your brush you may need to add some extra product from the back of your hand and find the place you want your flick to finish. Make sure it’s higher up on the lid that is what opens up and widens out the eye.
Don’t forget, practice makes perfect and don’t be afraid to do some tidy up if you need to.